Getting started with WSO2 Cloud Identity - The first step

1. Visit https://identity.cloud.wso2.com/

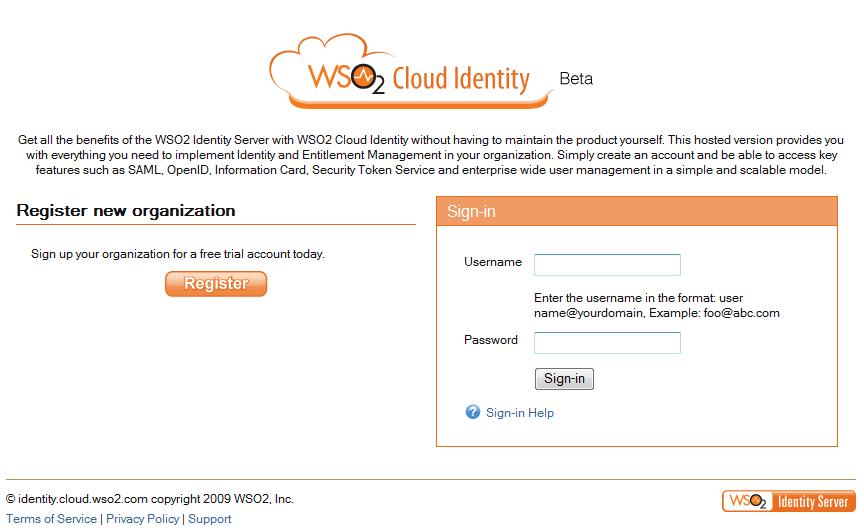
2. Clcik on 'Register' to register your organization.


3. Select a domain name for your organization.


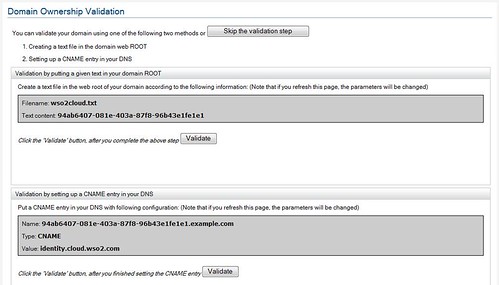
4. At step-3, you can select, either to validate the domain or not to. If you select to confirm the domain later - then you can do it after login in and clicking Account Management tab.

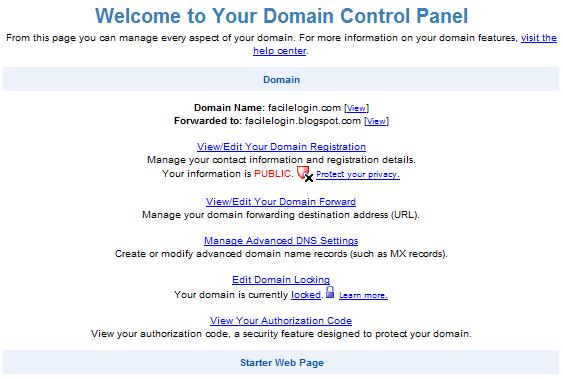
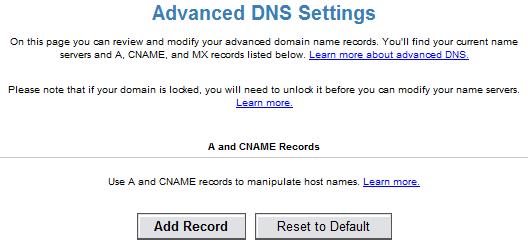
5. At step-3, if you select tp validate now, then you can do it either by uploading the given file to your domain or setting a CNAME. To see how to setup CNAME's please follow the corresponding documentations provided by your domain controller.


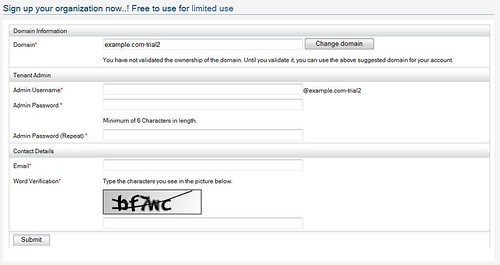
6. Fill account information. If you didn't validate your domain in step-3, you will notice that '-trial' being added to your domain name.


7. Select a theme for your organization.


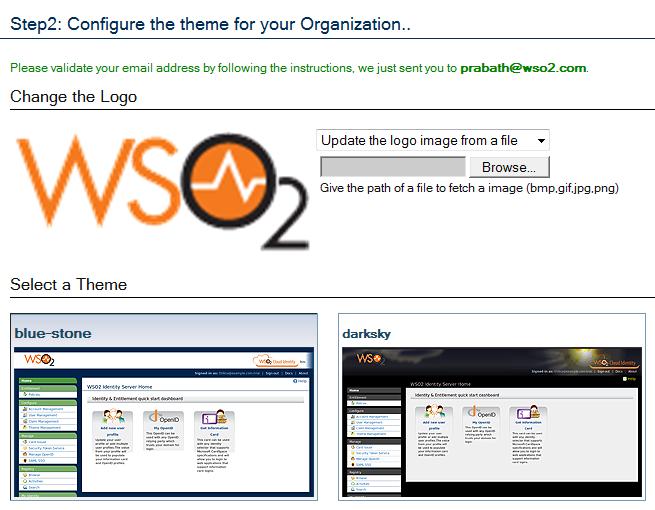
8. Now you will get an email under the subject "WSO2 Cloud Identity - Registration confirmation" - click the link there to activate your account.

OpenIDs under your domain for your enterprise with WSO2 Cloud Identity

With WSO2 Cloud Identity - you can provide your employees OpenIDs fall under your own domain name to be used with widely popular OpenID relying parties.

1. Register your Organization - visit http://identity.cloud.wso2.com.

2. Say, the domain I registered is facilelogin.com and a user there is prabath.

3. By default - with ZERO configurations, all users are assigned with an OpenID which falls under identity.cloud.wso2.com.

Your OpenID will look like; https://identity.cloud.wso2.com/openid/prabath - under the format https://identity.cloud.wso2.com/openid/{user@domain}

4. Now, you want your users' OpenIDs to fall under your domain - to look like; https://identity.facilelogin.com/openid/{user@facilelogin.com}

5. To do that you need to go your domain controller and add CNAME, pointing to identity.cloud.wso2.com

To do that with GoDaddy domains - please refer this.

6. For Yahoo controlled domain here are the steps.

- First go to http://smallbusiness.yahoo.com/domains/ and login

- Sign In to Small Bisuiness

- Click on the "Domain Control Panel" link corresponding to your domain

- Click on 'Manage Advance DNS settings'


- Click on 'Add Record'


- Set source to 'identity' [or any sub domain name you want to have in your OpenID]

- Set destination to identity.cloud.wso2.com


That's it.. it will work now - allow some time for DNS propagation.